Showing posts with label tomatoes. Show all posts

Sunday, August 22, 2010

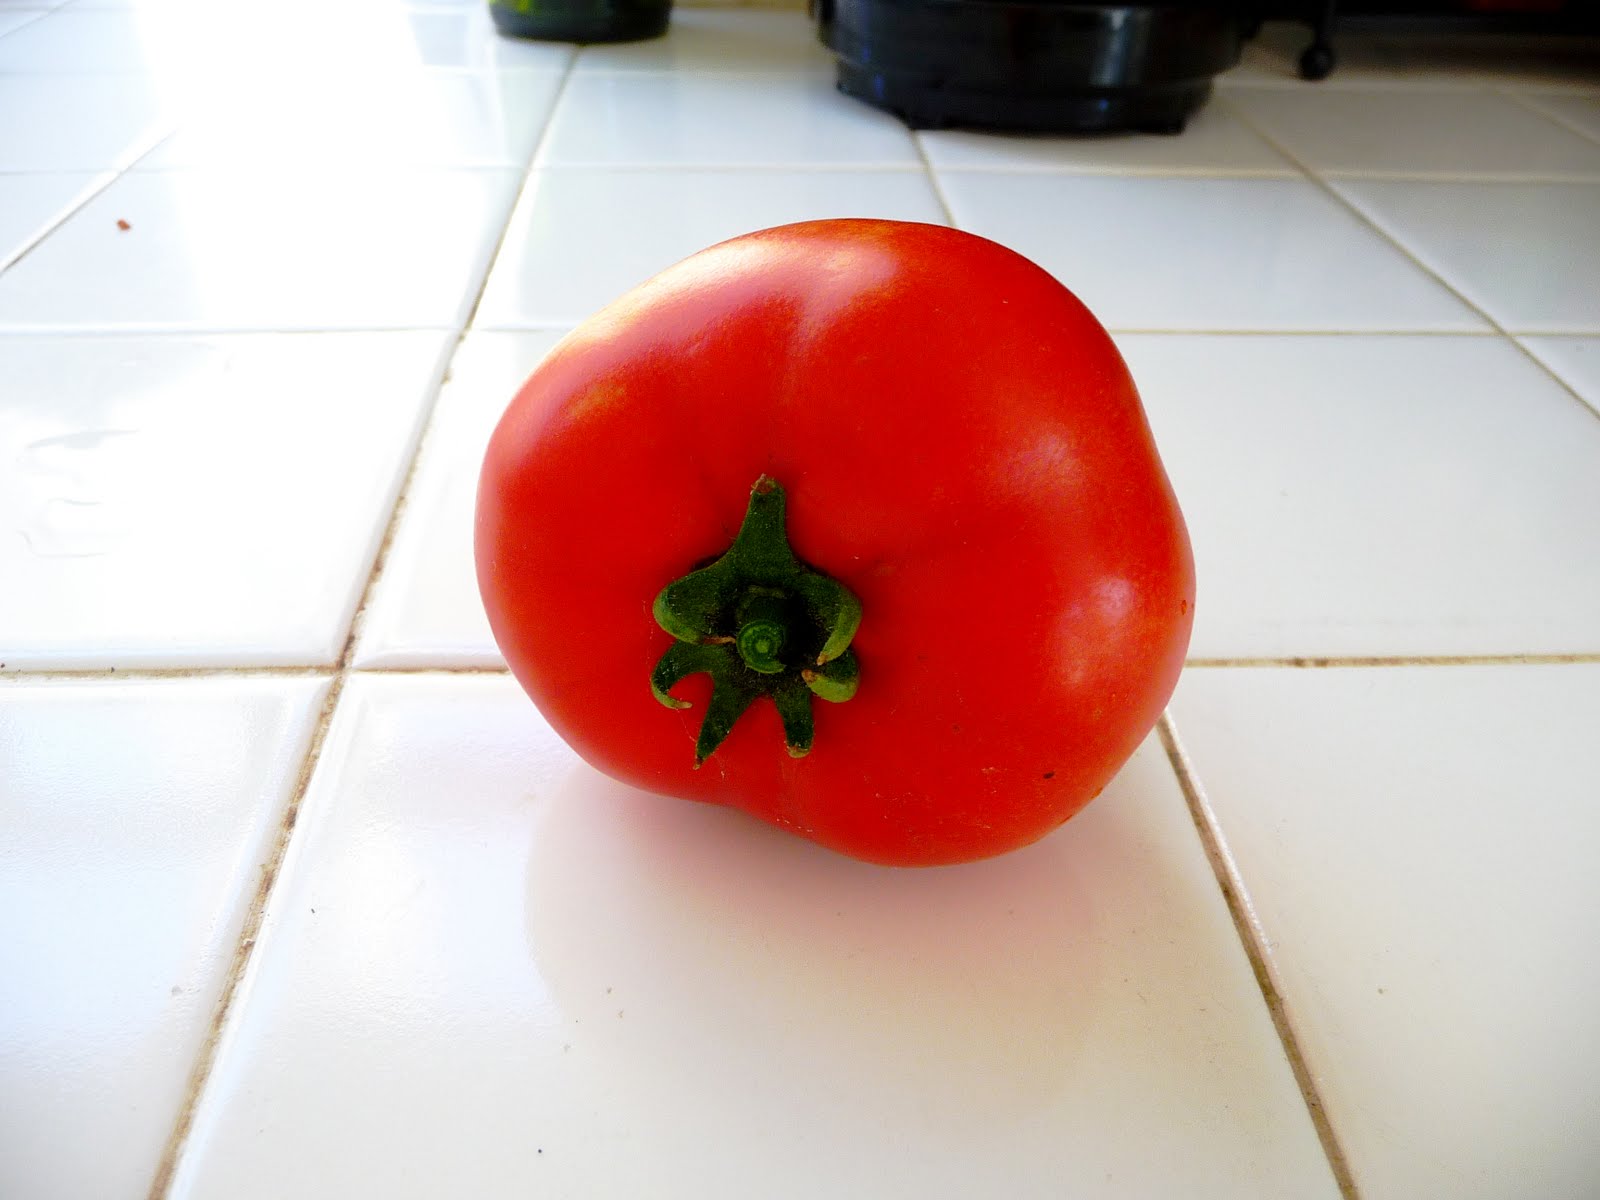
MUTANT TOMATO!!

Look at what I found in my garden today.

To the casual onlooker, this looks like an ordinary, lovely garden tomato.


By a closer look reveals-- EEK!


A MUTANT TOMATO!!


This reminds me of those stories of a baby absorbing its twin in the womb, except in this case, it looks like the twin is trying to emerge from it.


I have no idea how this happened, but I'm looking forward to eating it! :)

Sunday, August 15, 2010

My Garden - 5 months later

Thought I'd give everyone a look at how my side garden looks 5 months after my baseline entry. To remind you all, here's how the Rookie Garden looked in March 2010:


With a lot of sweat, blood, and tears--- well, mostly sweat... and achy hands, it has since been cultivated to look as it does today. A few weeks ago, I covered the bare spots with wood chips, and it really finished the area up.

*ROOKIE TIP: Wood chips are great for your garden not only because they look nice, but they also help to retain moisture, prevent weeds from growing out of control and some types will deter deer (I think cedar wood chips help with that).

I'm so proud of how my garden looks today!!


From the other end:


Sorry the pics are fuzzy... took them with my phone camera. You can click on the picture to see a higher resolution version. I'll have to take some detailed before and after pictures to compare how everything looks now in relation to my very first blog entry.

I've really learned a lot in the last 6 months and continue to learn... Here are some pictures from other areas in my garden:


And look! Siamese cucumber twins!!! Can't wait to eat that one! =)


Thanks for visiting!!!

Saturday, June 5, 2010

The fruits-- or shall we say-- Vegetables of Summer

Well, well... how quickly Summer approaches us! And with Summer are the vegetable that are FINALLY starting to show up in my garden!!

TOMATOES:


ZUCCHINIS (Or are they called Italian Squash?)


Snap Beans!


And here's the beginning of a young cucumber!


I've been traveling a lot for work lately, and have found that my garden seems to make more progress while I'm gone for a few days. Maybe it's because I'm not going outside every 4 hours to see if anything's changed!! Hahaah!!

Sunday, May 2, 2010

Eww! Gross!! Aphids in the Rookie Garden!

Plant them and they will come. Typically, I am hoping that "they" are the fruits, vegetables, and flowers that sprout from my garden that I so adore. But today, "they" are the bugs in my garden that are eating all my plants, and frankly just give me the willies!

I've been noticing that my tomatoes and bell pepper plants in my side yard have been exhibiting signs of damage. The tomato leaves are getting spotted, and there seems to be something eating up my bell pepper plants. Well, yesterday, a closer look revealed, YIKES! APHIDS and other strange tiny bugs!! I found these suckers on my tomato leaves:


Any ideas about what the heck this is:


On top of that, I've noticed these little blue bugs on my mint plant... in clusters.


In examining them closer, I realize that they're not little blue bugs, but dark green YIKES! APHIDS!!!


How many do you see? I counted 6 above, and 7 below...


Ugh... I'm getting goosebumps just looking at these pictures and thinking about them. I'm also getting itchy all over... they're so disgusting.

So I went online to see what I could do to control these things without pesticides I found this great article from the Golden Harvest Organics website:

Ants "farm" aphids often keeping them in their nest during winter, then bringing them out in spring and placing them on the host plant. The ants eat the honeydew the aphids produce and move them from plant to plant spreading any diseases that are present. The honeydew favors formation of a black fungus known as "sooty mold." Control of the ants may often solve the aphid problem. Aphids abound in warm moist environments and will attack almost anything, favoring succulent new growth.

Predators: Green lacewings, ladybugs and their respective larvae have a voracious appetite for aphids. Larvae from the syrphid fly also consume aphids. Hover flies and praying mantis feed on aphids.

Repellent plants: Anise, chives, coriander (cilantro), garlic, onions, petunias and radish. Nasturtiums act as a trap crop. Aphids definitely prefer yellow flowers.

  • Squashing a few aphids around the infested plants releases a chemical signal that makes the other aphids drop from the plants and leave.
  • To foil aphids: flatten a square of aluminum foil around the base of plants to bounce light on the undersides of leaves. This also helps the plants in giving them more light.
  • Try a barrier of powdered charcoal, calcium dust or bonemeal to keep them away from your plants.
  • Stinging Nettle Spray: Aphids & Thrips - Cover 1 quart nettles with water, cover and ferment for 3 weeks. Mix 1 part nettle tea with 7 parts water. Spray.
  • Spread out a barrier of tansy around the base of the plant to stop those ants.
  • Use a spray made from a tea of tomato or potato leaves and water.
  • Chop 12 or so tomato leaves and 1 chopped onion in 1/2 cup of of 70% isopropyl alcohol for a few minutes. Apply the mixture directly on aphids with a cue tip or paintbrush.
  • A forceful spray of water is often enough to knock the aphids off the plant and may discourage the ants, well sometimes.
  • Put a bright yellow plastic pan in a strategic spot in the garden. Fill it a third of the way full with water. Aphids are drawn to the yellow color, land on the water, sink and drown.
  • A soap spray can be used to strip them of their protective wax coating, dehydrating them. Mix 1 tablespoon of Castile soap to 1 gallon of water, spray.
  • Garlic oil spray can kill aphids and other soft bodied pests.
  • A dusting of diatomaceous earth is lethal to aphids. Wear a mask when using DE.
  • Teas made from elderberry or rhubarb leaves can act as a deterrent. Oxalic acid is the compound present in these plants that makes a spray effective. It is poisonous.
  • Place banana peels at the base of infested plant. The peels give them a shot of potassium too!
  • Also See: Treatments: Horseradish, elderberry and yarrow tea.
  • For wooly aphids on apple trees: grow the trailing type nasturtiums training them to wrap up and around the tree trunk to ward off these pests. Very attractive too! Note: nasturtiums will specifically attract the black aphid while repelling others.
Yesterday, I tried the soapy water and it seemed to help. I saw the aphids falling to the ground. I think I'll also try the banana peels and the yellow pan. I've always thought ladybugs are cool... maybe I'll get some of those...

Interesting about the ants farming aphids. I've noticed ants in my flowerbed, and I imagine they have something to do with this!!

I'll keep you all posted on how the Battle of the Aphids at Rookie Garden comes along...
Friday, April 30, 2010

Rookie Tips for Growing Tomatoes

This Rookie Gardener has been experimenting with tomatoes for about a year now. I grow every one of my tomato plants from seed (mainly from store-bought tomatoes that I use for cooking). If I eat an interesting tomato, I try to harvest its seeds and grow it. When I first started, I really didn't know what I was doing, but over the last year, I've acquired some tips along the way, and am starting to see the "fruits" of my labor. These pics are from my tomato plants as they are today... as you can see the fruits are just arriving!

I can't say that I'm anywhere near experienced in growing tomatoes, but I think the following are basic tips in successful Rookie tomato plant growing.

1) If you start your tomatoes from seeds, wait until the seedlings are at least 3 inches in height before transplanting them. If you plan to grow your tomatoes in a container, and you see roots peeking out the bottom of the pot, move the plant to a bigger pot to encourage growth!

1-a) To answer TMCPhoto's question: How to harvest seeds... I've done it two Rookie ways: 1) Just take the seeds straight from the tomato and throw it right into the dirt. 2) Put the seeds in a glass of water. Stir twice a day for 2-3 days. By the third day, the seeds will have settled to the bottom of the glass. Sift them out on a paper towel and they are ready for planting! The second method gives you more control over where you plant the seeds, but either way works well, especially with fresh seeds.

2) Pinch off any leaves growing below the lowest flowers on your plant.

3) When you plant starts growing rapidly, use a tomato cage to guide its growth, so it doesn't get unruly.

4) Tomato plants LOVE coffee grounds! Sprinkle some in your soil.

5) Make sure your tomato plant gets LOTS OF SUN, and I mean LOTS!

6) Occasionally give the top leaves of the plant a light shake so that the pollen from the upper flowers make contact with the flowers below. Tomatoes self-pollinate with their flowers.

7) This is one I need to work on: Patience! Plant it, and the tomatoes will come!


If you've got some tips of your own, feel free to leave them in the comments section! I'd love to hear them!! And if you're a total rookie too, I hope these tips were helpful!